
Personalized Outbound Strategy
Get The Right Outbound Strategy In Minutes
Enter your email to get a custom plan & stack recommendation for your business
It's being carefully crafted by AI
Please check your mailbox in 5 minutes

You’ve added an SPF record to your domain, but your emails are still failing authentication. So, what went wrong?
It could be something as simple as a missing sending IP, two SPF records published for the same domain, or a small mistake in the record's format.
Your SPF record might also exceed the limit of 10 DNS lookups, which can cause authentication to fail.
The first step is to find out exactly what's wrong with your record.
In this guide, I'll show you how to fix SPF record failures, correct common DNS errors, and test your SPF record to make sure your emails pass authentication.
Before changing your SPF record, you need to find out what's causing the failure. Your DNS record might look correct, but the server sending your emails may not be authorized. Here are three ways to check.
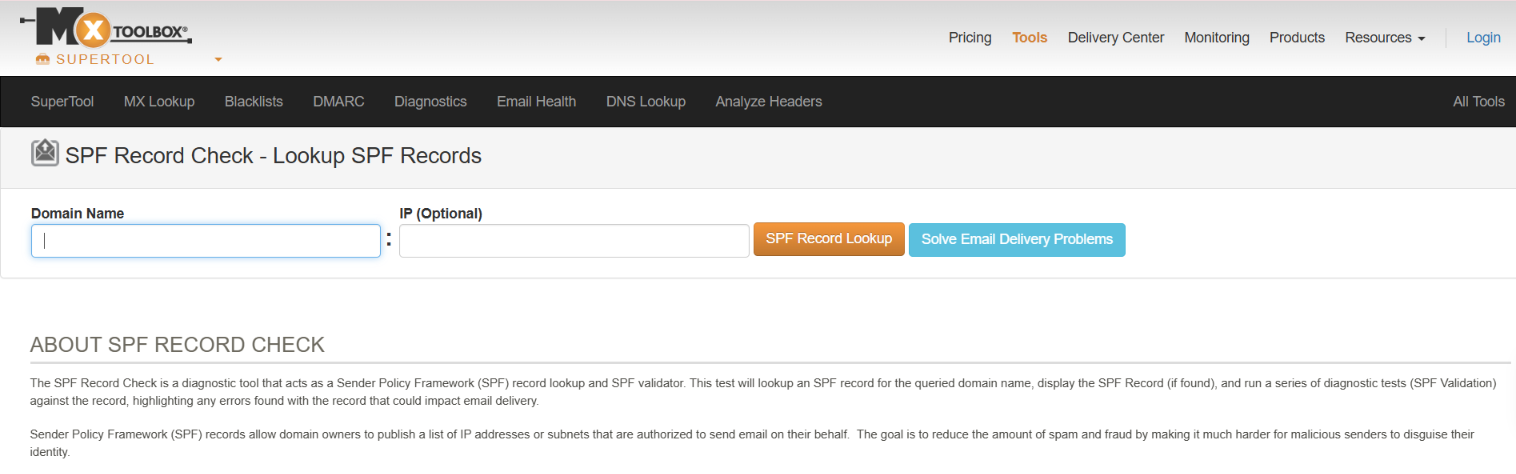
MXToolbox helps you find problems with your SPF record, including syntax errors, duplicate records, and DNS lookup issues.
Pay attention to SPF PermError and the 10 DNS lookup limit. Exceeding this limit causes SPF to return permerror. If the tool reports an error, check what caused it before making changes to your DNS.
An SPF checker can tell you if your record has configuration problems. But to know whether your actual emails pass SPF, you need to check their headers.
In Gmail:
Look for:
spf=passThis means the sending IP is authorized by the SPF policy of the domain being checked. If you see spf=fail, spf=softfail, or spf=permerror, the email hasn't passed SPF.
Also, check the smtp.mailfrom domain in the authentication results. SPF usually checks this domain, which may differ from the email address recipients see in the From field.
You can also check your SPF record directly in your domain's DNS settings.
For example, if Google Workspace is the only service sending email using your domain for SPF, your record might look like this:
Check these four things:
If the record appears correctly in your DNS dashboard but an external checker cannot find it, check whether it's published under the correct hostname. Recent DNS changes may also still be cached.
Once you've identified the error, you can fix the specific problem without changing parts of your SPF record that are already working.
Once you know why your SPF record is failing, you can fix the problem in your DNS settings. Here are seven common SPF errors and how to fix each one.
A small formatting mistake can make your SPF record invalid. This could be an incorrect IP address, a missing colon, or an unsupported SPF mechanism. For example, this record has an incorrectly formatted include mechanism:
Incorrect: v=spf1 include_spf.google.com ~allCorrect: v=spf1 include:_spf.google.com ~allTo fix syntax errors:
Don't replace the entire record with an example you found online. You could accidentally remove a sending service that your domain still uses.
If your domain has two or more SPF records at the same DNS name, SPF returns permerror. This happens because receiving servers cannot evaluate multiple SPF policies published for the same name.
To fix this, you need to combine the authorized sending services into one SPF record instead of keeping separate records.
For example, suppose you use Google Workspace and another email server.
Incorrect - two separate SPF records
Record 1: v=spf1 include:_spf.google.com ~all
Record 2: v=spf1 ip4:192.0.2.10 ~all
Correct - one combined SPF record
v=spf1 include:_spf.google.com ip4:192.0.2.10 ~allHere's how to fix it:
Important: Don't delete unrelated TXT records, such as DKIM records or domain verification records. Only the duplicate SPF policies need to be combined.
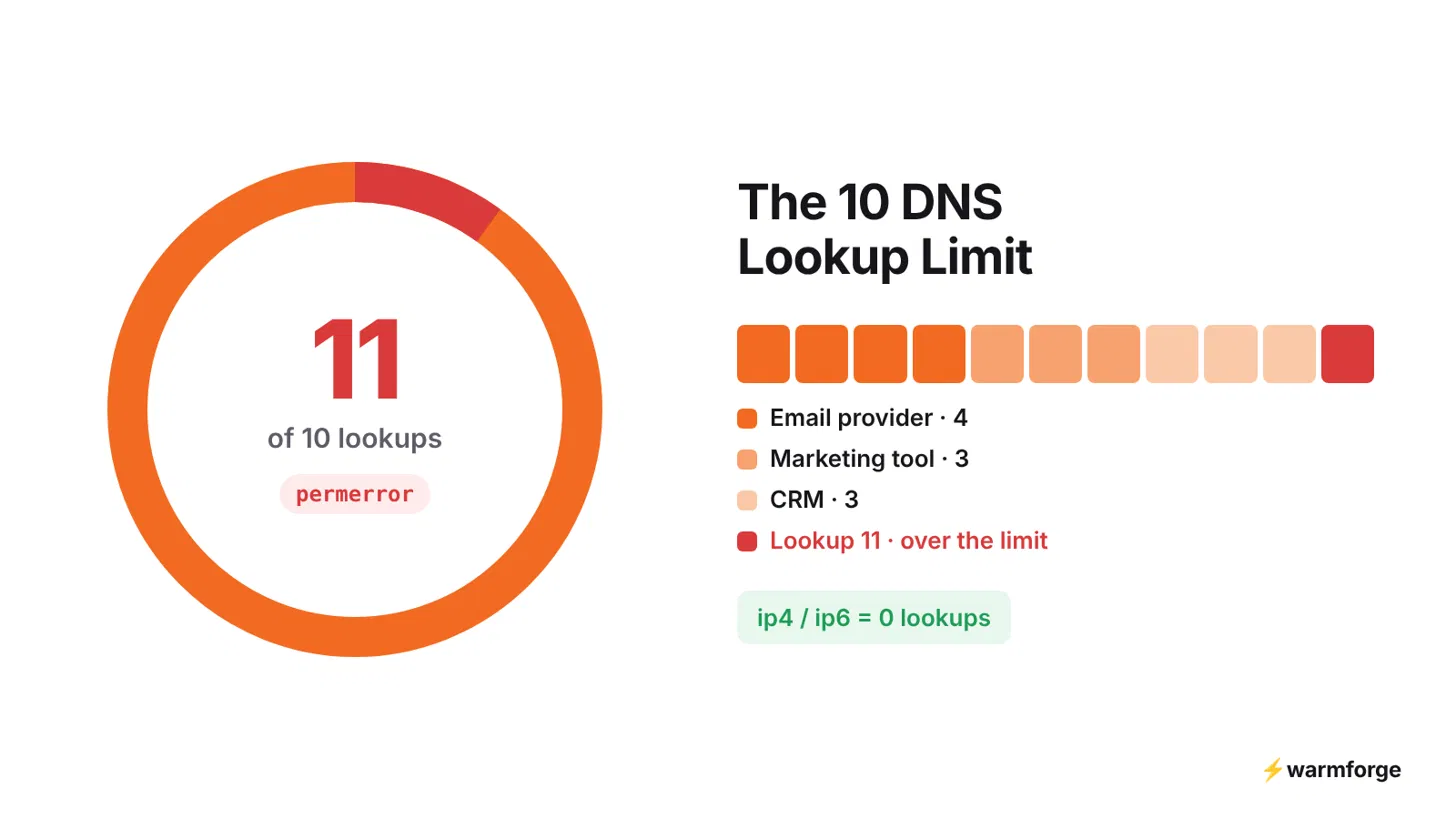
SPF allows a maximum of 10 DNS-lookup-causing mechanisms and modifiers during evaluation. This includes include, a, mx, exists, redirect, and lookups triggered by nested SPF records. If SPF evaluation exceeds this limit, it returns permerror.
To reduce SPF lookups:
For example:
v=spf1 include:_spf.google.com ip4:192.0.2.10 ~allThe ip4: mechanism doesn't count toward the 10-lookup limit.
You may also come across SPF flattening, which replaces DNS-based mechanisms with IP addresses. This can reduce lookups, but those IP addresses can become outdated when a provider changes its sending infrastructure.
Only use flattening if you have a way to keep the IP list updated.
If the sending IP isn't authorized by the SPF policy being checked, SPF can return fail or softfail, depending on how that policy is written. It can also return neutral if the policy uses ?all.
For example, your domain might authorize Google Workspace, but an additional sending server uses a different IP.
Before:
v=spf1 include:_spf.google.com ~allAfter:
v=spf1 include:_spf.google.com ip4:192.0.2.10 ~allIn this example, 192.0.2.10 represents an additional authorized sending server. To fix the problem:
Don't add an IP address just because it appears in an email header. Confirm that it belongs to a service authorized to send your emails.
These SPF results tell you whether the problem is permanent or temporary.
For permerror: Run an SPF lookup and correct the reported problem. The fixes for syntax, duplicate records, and DNS lookup limits are covered above.
For temperror: Check whether the DNS servers for the SPF domain are responding. If DNS is temporarily unavailable, retry the check after the issue is resolved.
A temporary DNS failure doesn't necessarily mean your SPF record needs editing.
If the receiving server cannot find an applicable SPF policy, the result may be none. The SPF record might be missing or published under the wrong hostname. Also, SPF may be checking a different domain from the one you expected, especially when a third-party email service handles the envelope sender.
How to fix it:
For example, if Google Workspace is your only sending service for that SPF domain, you can use: v=spf1 include:_spf.google.com ~all
If an SPF record already exists, update that record instead of publishing a second one.
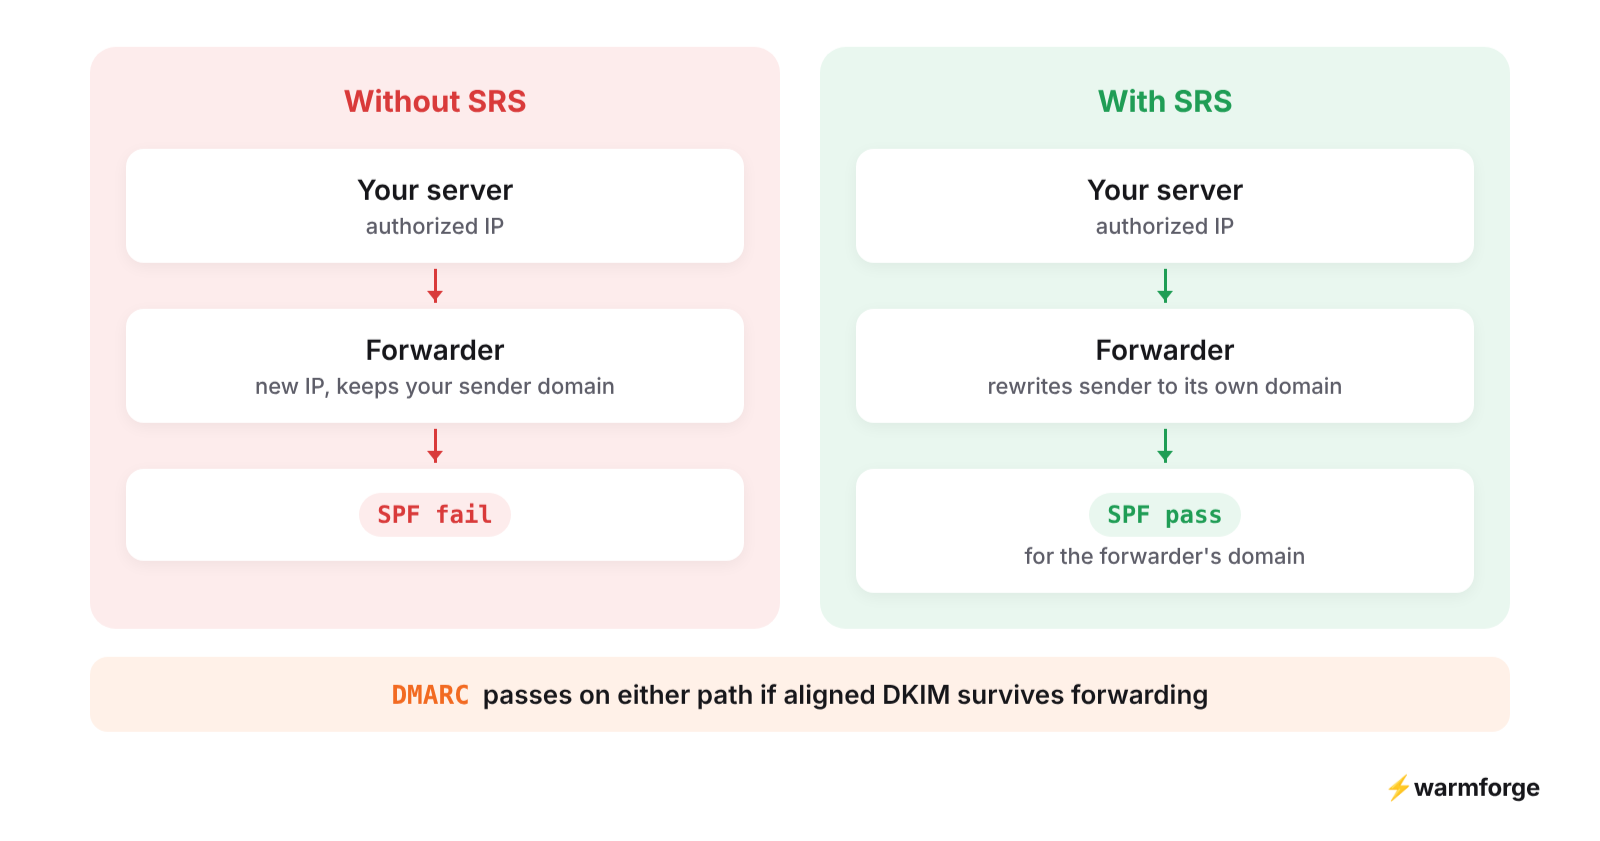
Alt text: Forwarding without SRS causes SPF fail
Email forwarding can break SPF because the forwarded message reaches the recipient from a different server's IP address. That IP may not be authorized by the original sender's SPF policy, even if the email passed SPF before forwarding.
How to address it:
SRS rewrites the envelope sender so the forwarded email can pass SPF using the forwarding service's domain.
Important: DKIM doesn't fix SPF. However, a valid DKIM signature aligned with the visible From domain can allow DMARC to pass even when SPF fails after forwarding.
After identifying and correcting the SPF error, you need to update the TXT record in your domain's DNS settings. The steps are similar across DNS providers such as Cloudflare and GoDaddy.
Open the dashboard of the provider managing your domain's DNS records.
Make sure you're using the provider that manages your active DNS records. It may be different from where you purchased your domain.
Find the TXT record that starts with v=spf1.
For example:
v=spf1 include:_spf.google.com ~allCheck the Host or Name field to confirm you're editing the correct domain. For a root domain, many DNS providers use @.
Copy your existing SPF record before making changes so you have a backup. If you cannot find an SPF record, check the correct SPF domain before creating one.
Open the existing SPF TXT record and make the required correction. For example, if you need to authorize an additional sending IP:
Before:
v=spf1 include:_spf.google.com ~allAfter:
v=spf1 include:_spf.google.com ip4:192.0.2.10 ~allHere, 192.0.2.10 is an example IP address. Replace it with the actual IP of your authorized sending server.
Before saving, check that:
Click Save or Update to publish the changes. If no SPF record exists, create a new TXT record at the correct DNS name using the SPF value required by your email provider.
After saving, check whether the updated SPF record is publicly available.
If the old record still appears, verify that you updated the correct DNS provider and hostname. Cached DNS results may take time to expire, depending on the record's TTL.
Once the new record is visible, send a test email and check its headers to confirm that SPF passes for the sending service you updated.
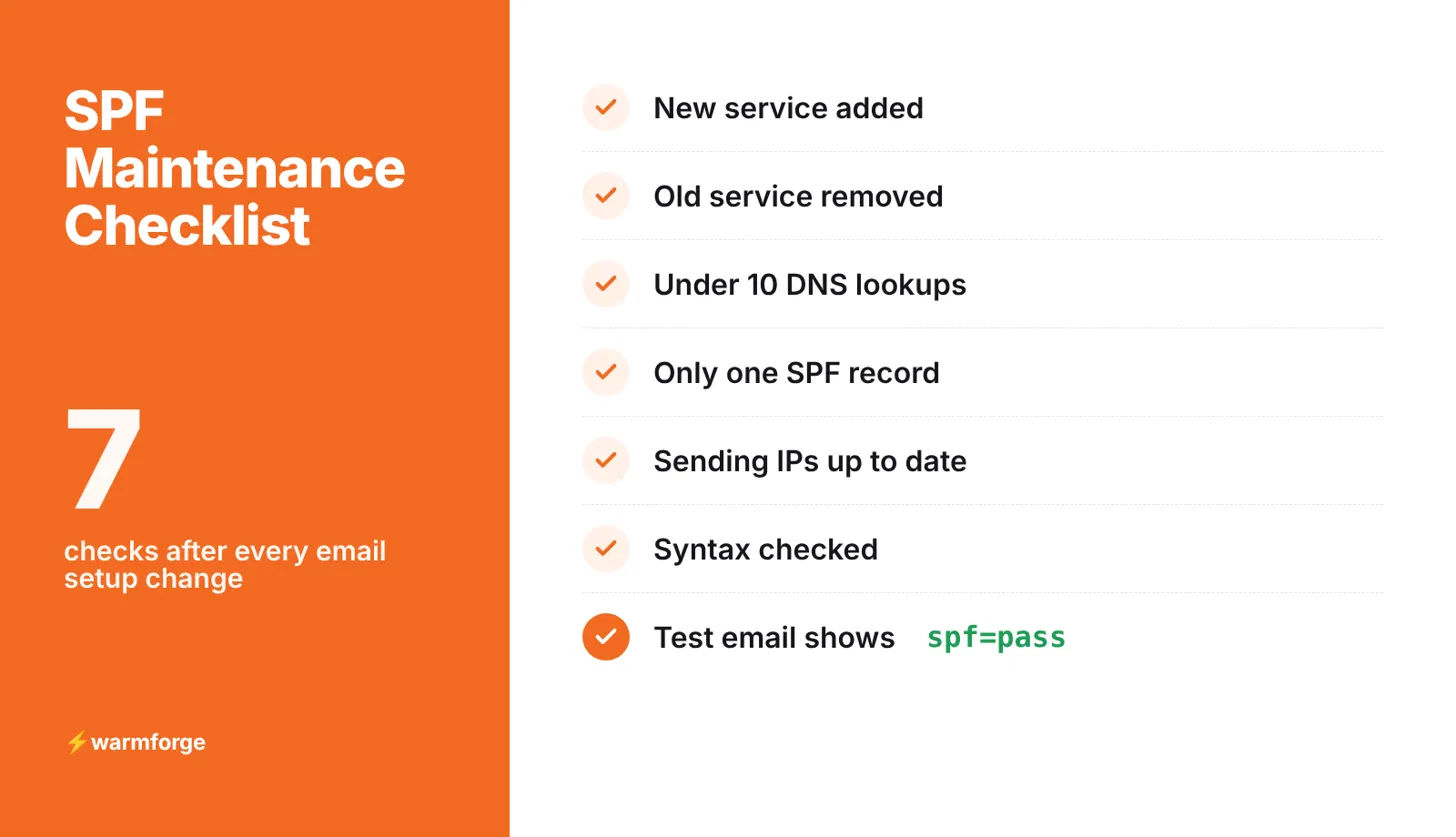
Your SPF record can work today and fail after you connect a new email tool or change your sending provider. The new server's IP may not be authorized, or an additional include mechanism could push the record over the 10 DNS lookup limit.
Here's what to check whenever your email setup changes.
An SPF checker can confirm that your record is valid, but it cannot prove that every sending service passes SPF. Test actual emails after changing providers, IP addresses, or SPF authorizations.
Fixing your SPF record tells you that one problem has been corrected. It doesn't tell you if another DNS record breaks later or if your emails are actually reaching inboxes.
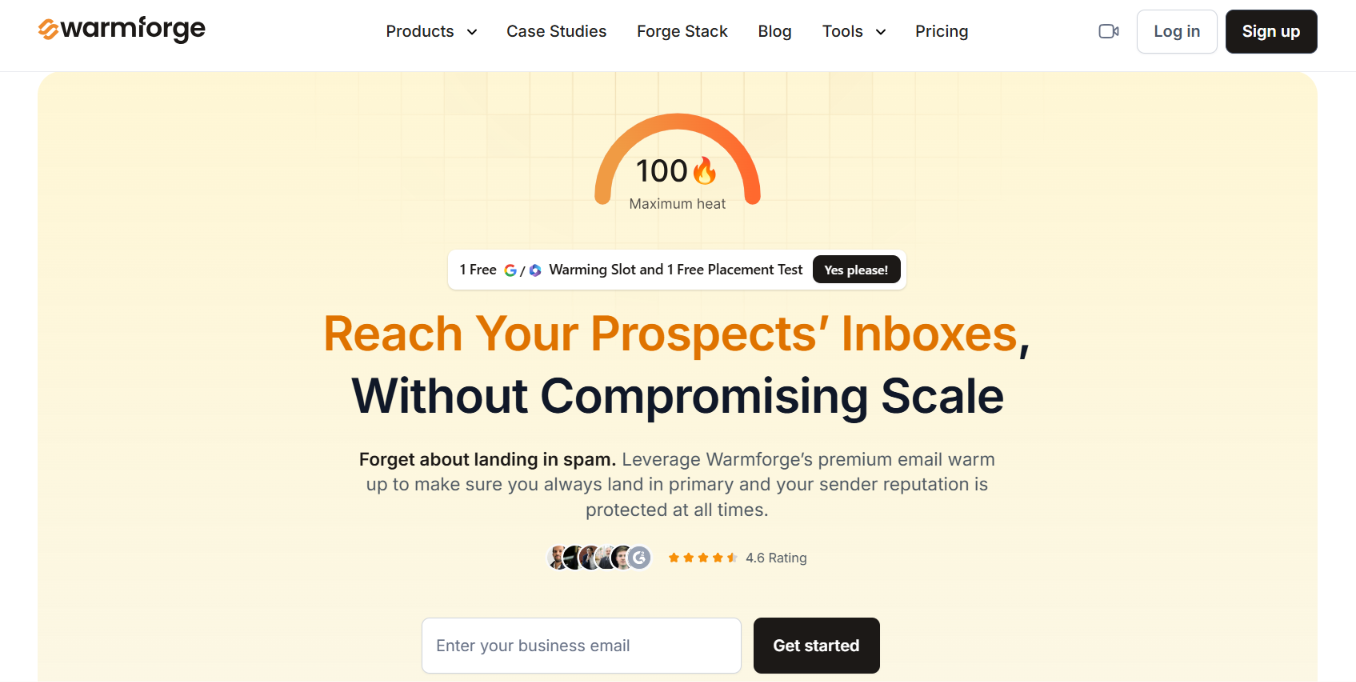
Warmforge gives you both checks. Its Health Checks monitor SPF, DKIM, DMARC, and MX records for your connected mailboxes. They also check blacklist status. So, if Warmforge's Health Checks detect a problem with your SPF or other DNS configuration, you can investigate the record and fix it through your DNS provider.
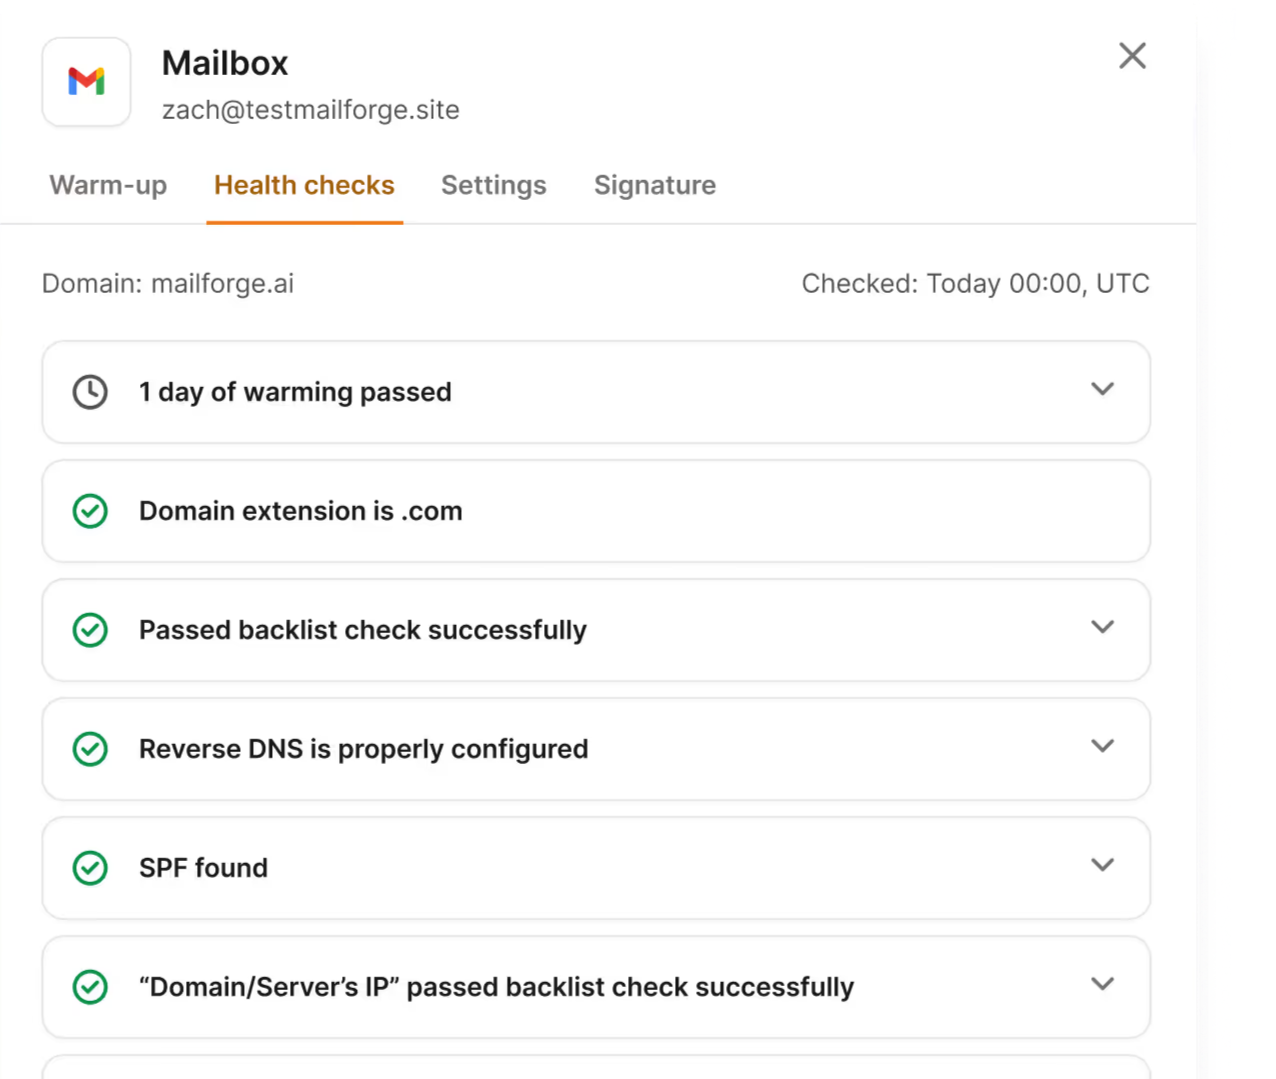
Alt text: Health checks on Warmforge
Each mailbox also gets a Heat Score based on its DNS configuration, blacklist status, warmup progress, and recent warmup activity. Warmforge recommends a score of 85 or higher before you start sending campaigns.
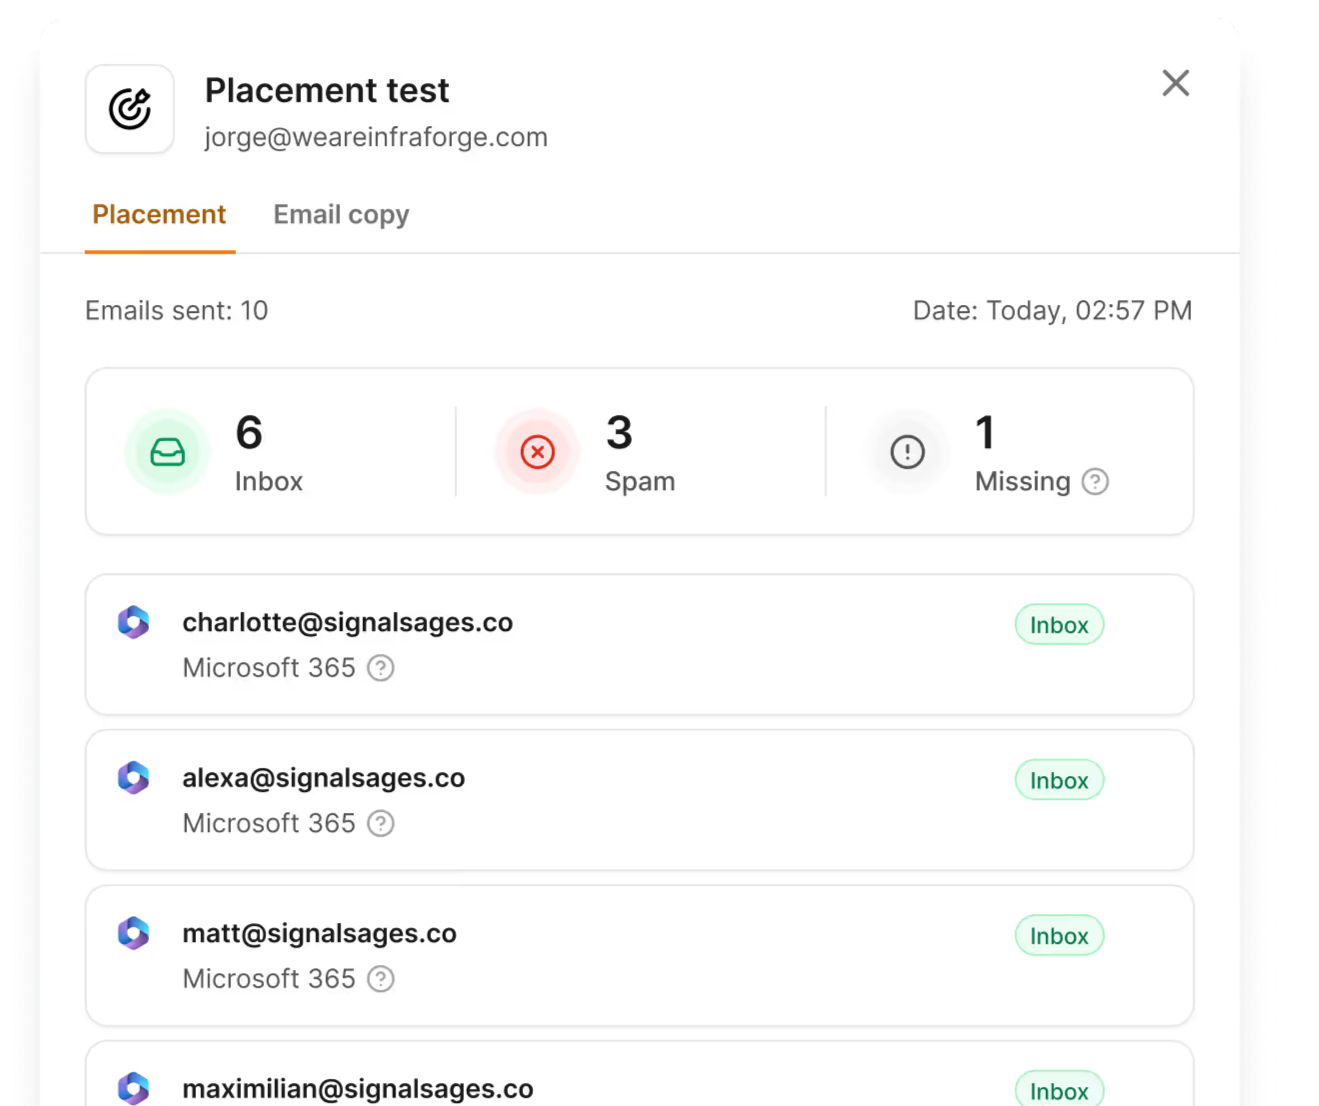
Alt text: Placement test on Warmforge
Then you can run a Placement Test to check what happens when you actually send. Warmforge sends your email to test addresses across different email providers and reports how many messages:
This gives you two different checks, Health Checks show whether SPF and the rest of your mailbox setup have problems, while Placement Tests show where your emails are landing.
Warmforge doesn't edit or repair your SPF record. If it flags an SPF problem, you make the change with your DNS provider and then use Warmforge to keep an eye on the mailbox afterward. You can start with one free warming slot and one free Placement Test in Warmforge.
Enter your email to get a custom plan & stack recommendation for your business
Please check your mailbox in 5 minutes

If your SPF record is failing, don't replace it blindly. Find the exact problem first, whether it's an unauthorized sender, duplicate SPF records, invalid syntax, or too many DNS lookups, and fix that specific issue.
Once you've updated the record, verify that the change is live and send a test email to confirm SPF passes. That should be the final step every time you change your SPF setup.
But don't treat SPF as a one-time DNS task. Adding a new sending service or changing your email infrastructure can create problems again.
That's why Warmforge is a good next step after fixing your SPF record. It checks SPF alongside DKIM, DMARC, MX, and blacklist status, while Placement Tests show where your emails are actually landing.
Start with Warmforge to monitor your mailbox health and run a free Placement Test.